Repairing and shooting my Yashica Electro 35 GS

Yashica Electro 35 GS
It is probably clear by now that I have quite a fondness for Japanese manufactured cameras. When I made the decision to add a rangefinder to my collection, I once again looked to Yashica and their Electro 35 series. A rangefinder camera is so called because they focus by using a dual image range-finding device. When you look through the viewfinder you will see two images and when you turn the focus ring, one of the images will move. When the two images are lined up perfectly and superimposed on top of another, you know that you are in focus. The viewfinder on a rangefinder camera is separate from the lens and the cameras do not have a mirror. This makes the shutter much quieter and makes a rangefinder camera a good choice for street photography.
The amazing Electro 35
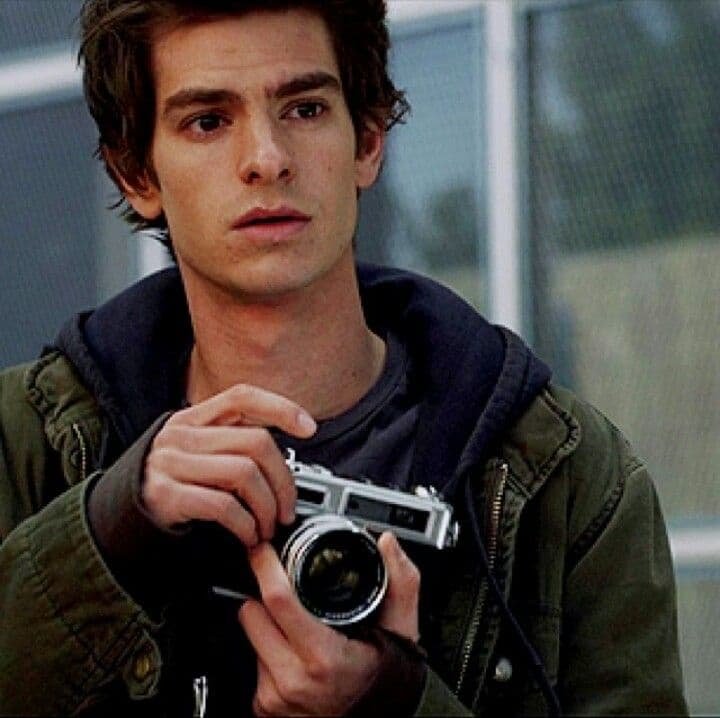
Andrew Garfield as Peter Parker holding the Yashica Electro 35 GSN.
I was drawn to the Yashica Electro 35 rangefinders due to their beautiful retro aesthetic, wide availability and reasonable price point. The GSN model is also the camera used by Peter Parker in The Amazing Spiderman (2012) and I must confess that I am quite a Marvel nerd. The Electro 35 series was first introduced by Yashica in 1966 with a fixed f/1.7 45mm Yashinon lens and aperture priority exposure. Various models of the Electro 35 continued in production until 1977, selling approximately 8 million cameras.
My own model is the Yashica Electro 35 GS which was introduced in 1970. The top of the camera houses the ASA (ISO) dial, the film counter, the exposure indicator lights, the rewind crank, the advancing level and the accessory shoe. There is a battery check button located on the back of the camera which should show a green light in the film counter if the battery is operational, the battery is key for operating the electronic copal shutter. The Electro 35 series originally used a mercury battery but today we can use a 4LR44 in an adapter. The G in GS indicated the camera has gold plated electrical contacts to prevent oxidation while the S indicates the lack of a hot shoe. This feature was later made available on the GSN and GTN models with the N indicating the presence of the hot shoe.

4LR44 battery and adapter.
Aperture can be set from f/1.7 to f/16 and the aperture ring can be set to three different symbols, a sun for sunny conditions, cloud for overcast or shade and an indoor symbol for shooting indoors. You also have the option of a bulb and flash function but personally I have always used my camera on the auto exposure setting with great results. ASA (ISO) ranges from 25 to 1000 and shutter speed from 1/500th to 30 seconds. The camera has a built in light meter with an orange arrow in the viewfinder indicating that a slow shutter speed is required and a red arrow indicating that you are overexposed. To activate the light meter you just depress the shutter button half way and exposure can be checked through the viewfinder or on the exposure indicator lights on top of the camera.

Exposure indicator on top of the camera.
Common repair issues
While the Electro 35 cameras are generally very robust, there are a few issues that can arise and may need repair. One such issue is the ‘pad of death’ which refers to the degradation of a small pad linked to the film advance lever. When the lever is operated a spring loaded slider shoots up to its original position hitting the rubber pad producing a “thunk” or a “clunk” sound which is demonstrated nicely in this video. If the pad has deteriorated you won’t hear that “thunk” and the pad will need to be replaced. It can be replaced with a foam pad, it does not have to be rubber and there are some excellent repair resources for this problem which I will list at the end of the post. Light seals can also be an issue if they are degraded as is often the case for vintage cameras, but you can pick up reasonably priced light seal kits from websites such as Milly’s Cameras.
I was able to purchase my Yashica Electro 35 GS for a bargain price as the owner had no idea whether the camera was still working. It is always a risk to buy an untested camera but I took a chance on it as cosmetically, it looked to be in superb condition. I was delighted with the condition of the camera when it arrived and everything seemed to be working except for one thing, the check battery light. A new battery did not solve the issue and some investigation online led me to the conclusion that the wire for the battery connection had become disconnected and would need to be soldered back into place. This appears to be a fairly common issue for the Electro 35’s and while it can be fixed, it will require you to ascertain which end of the wire has become disconnected. You will need to remove the top plate to check the connection at that end and if this is not the issue you will need to remove the bottom of the camera to check for corrosion at the other end of the battery wire. If there appears to be corrosion along the entire wire you will have to replace it altogether.
Top plate removal
Removing the top plate is not too difficult and extensive repair guidance can be found at Matt’s Classic Cameras and Yashica Guy. You can also find a number of Flickr threads discussing Electro 35 repairs.

Use a magnetised screwdriver to remove the top plate and a tray to hold the screws and washers.
To remove the top plate you must remove the small silver screws on each side of the camera and the one at the back beside the battery check. Use a magnetised screwdriver for this as they are tiny screws and place them in a container so you don’t lose them. I only have two screws remaining as one went missing, an important lesson in using a tray to hold the small parts. Next, you need to remove the advance lever using a fine tip tweezers to turn the centre screw counter clockwise. Once you have loosened this the entire lever will lift off. Be careful to remember what order the parts were in as there are some washers underneath the lever which will need to be put back in the correct position.
Fine tip tweezers
Next the ASA dial needs to come off and it is worth setting the dial to ASA 100 as a guide for when you re-assemble the top plate. Use your tweezers again to remove the centre screw and the whole dial will lift off.
Lastly it is time to remove the rewind crank. Pull up the crank and open the back of the camera. Place a screwdriver in the fork of the crank and turn the rewind crank counter clockwise to unscrew it. Do not close the door of the camera or it may be difficult to open again. You should now be able to carefully lift the top plate off the camera but be careful as the battery check button may fall out and the flash sync wire is connected to the top plate.
Once the top plate is removed it should be easier to see what is going and get access to the viewfinder for cleaning. In my case, I could confirm that the battery check wire had become detached at that end and needed to be soldered back in place. I gave the camera to a friend with a soldering kit who did the job for me and it solved the battery light issue. I did not need to open up the bottom of my camera but if you find that you need to do this then you can find instructions here. Thankfully I have had no further issues with my camera since this small repair.

With the top plate removed, you can see the white battery wire to the front right in the photo.
I recommend investing in some micro tools and a good lamp or magnifier for carrying out minor repairs and cleaning on your camera. Do not be afraid to open up cameras and see what is going on as there are many wonderful camera repair and cleaning resources available online. The more cameras that I open up, the more confident I am becoming in the process and you learn a huge amount by having a look at the internal workings of a camera. It is also incredibly satisfying when you see how good your viewfinders or mirrors look after a really good clean. However, if you find a serious issue in your camera or find it needs a really good CLA (clean, lubricate and adjust) then do seek out specialist services.
Shooting the Yashica Electro 35 GS

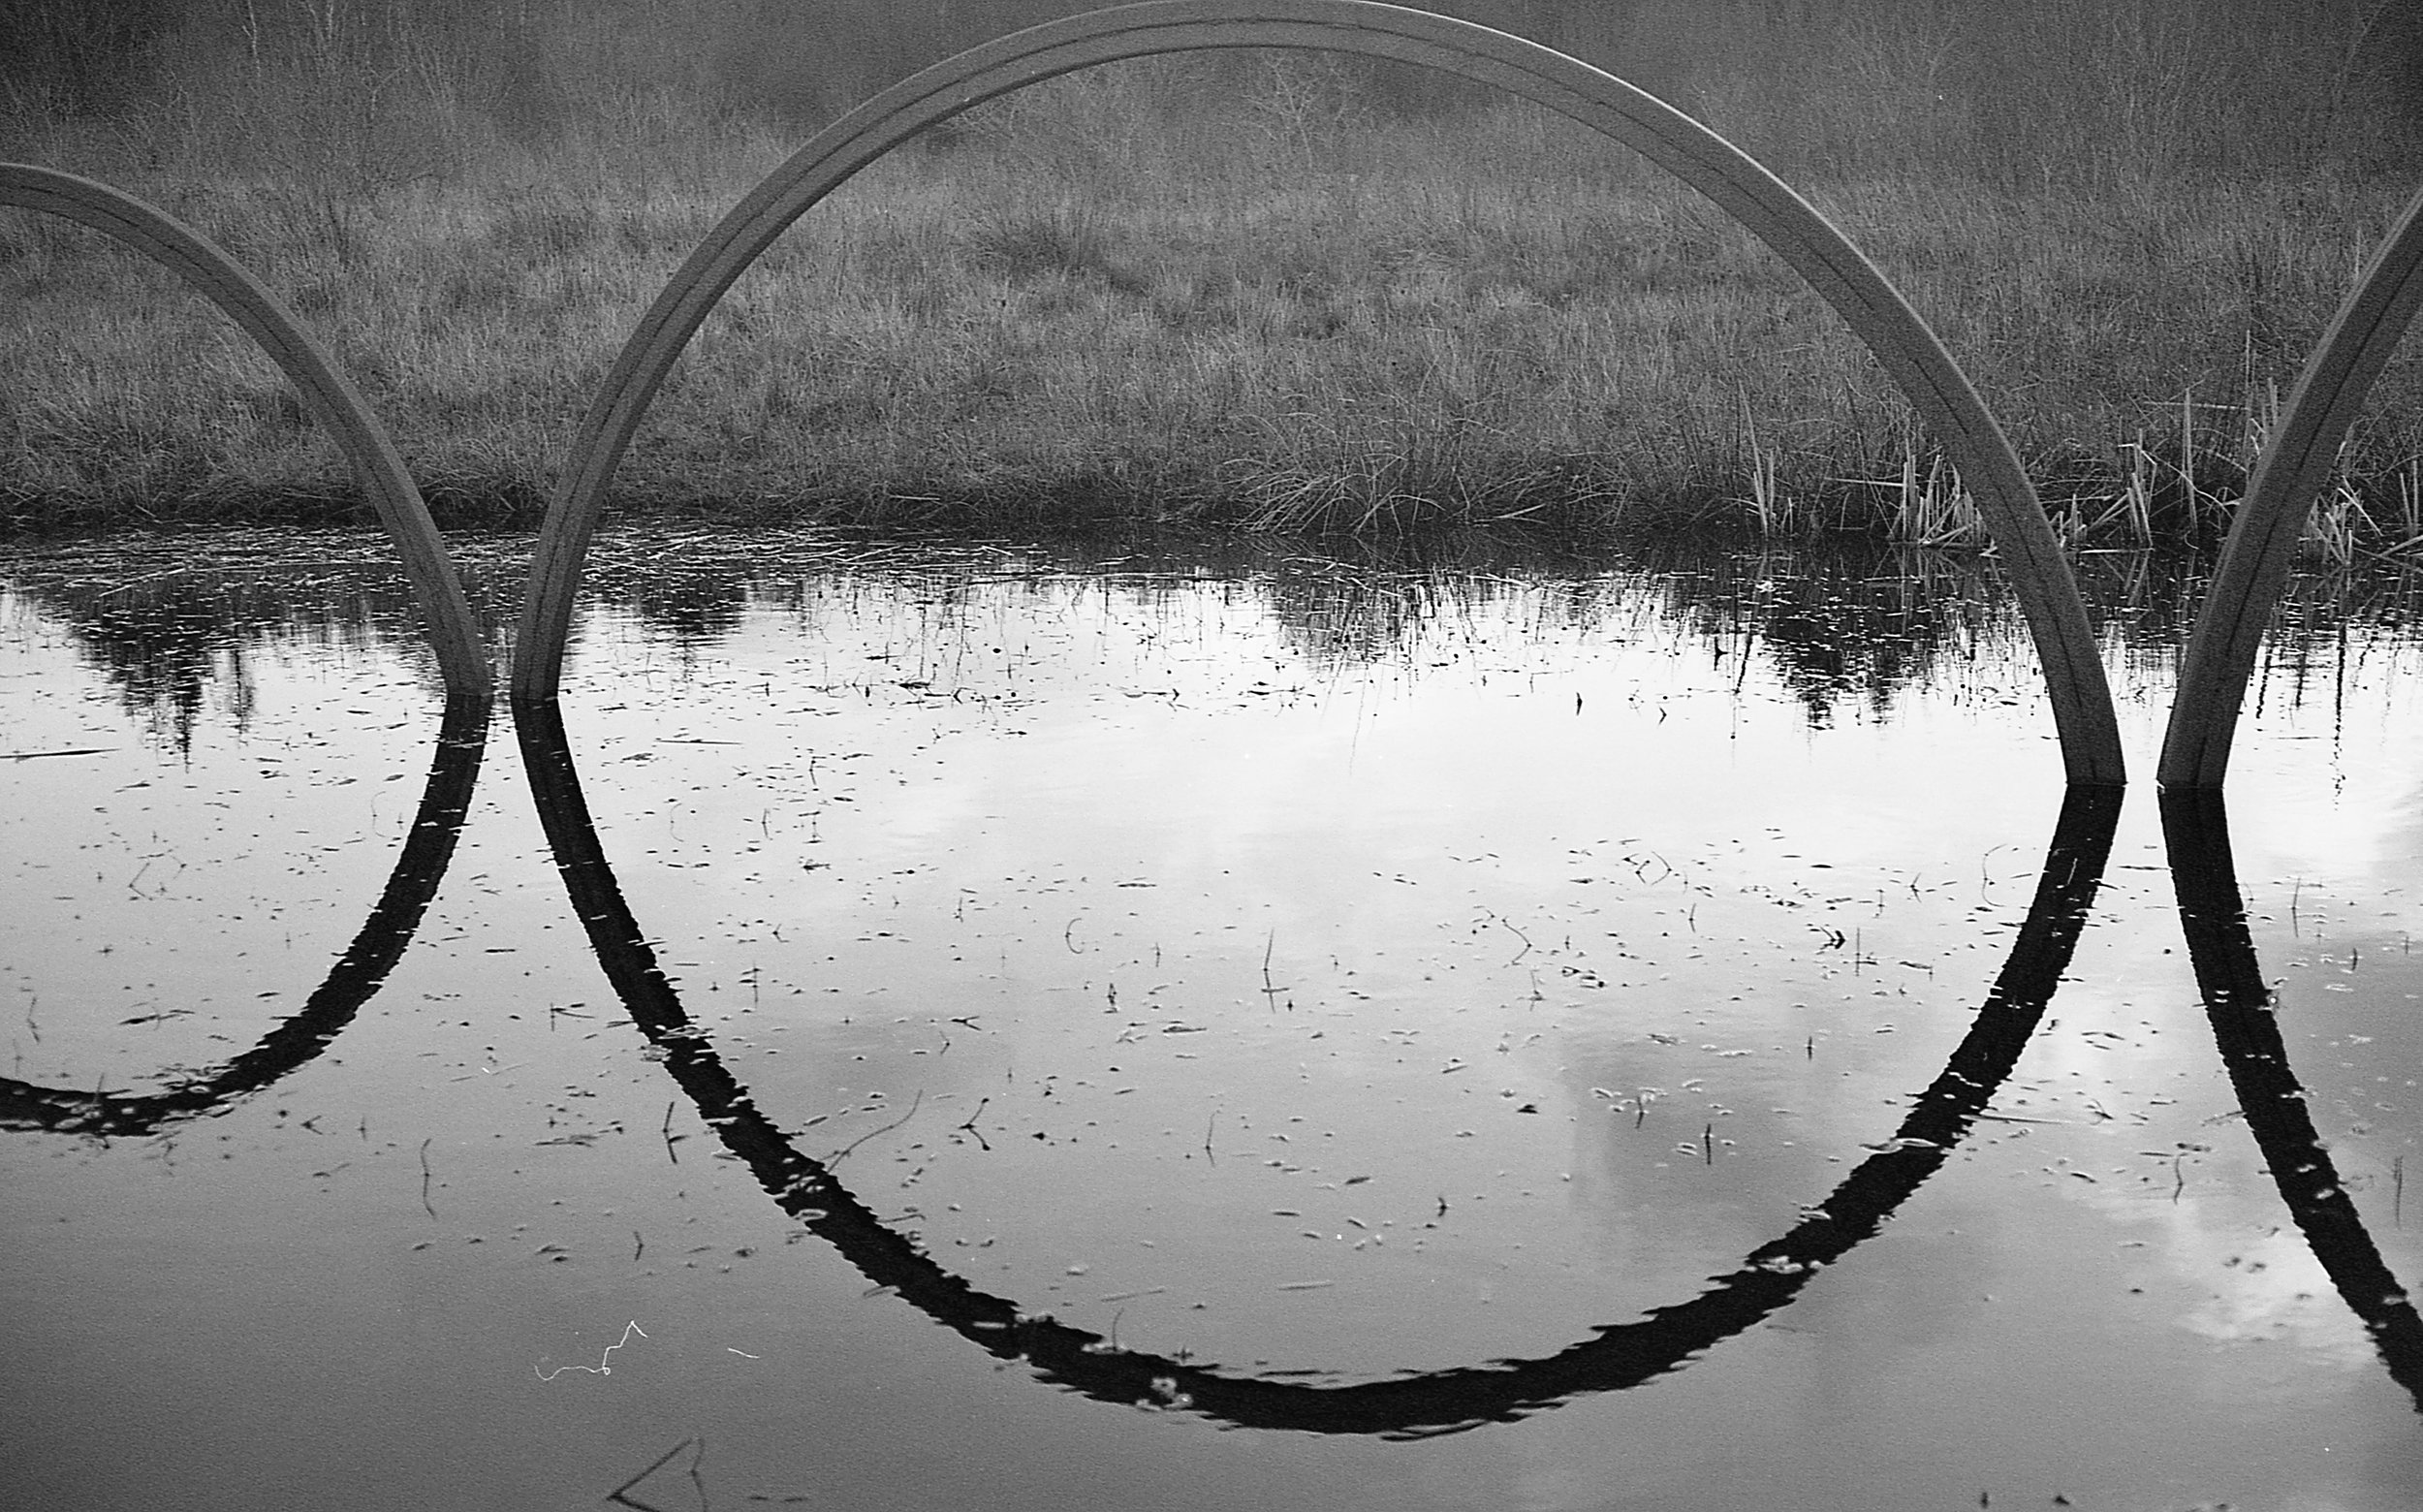
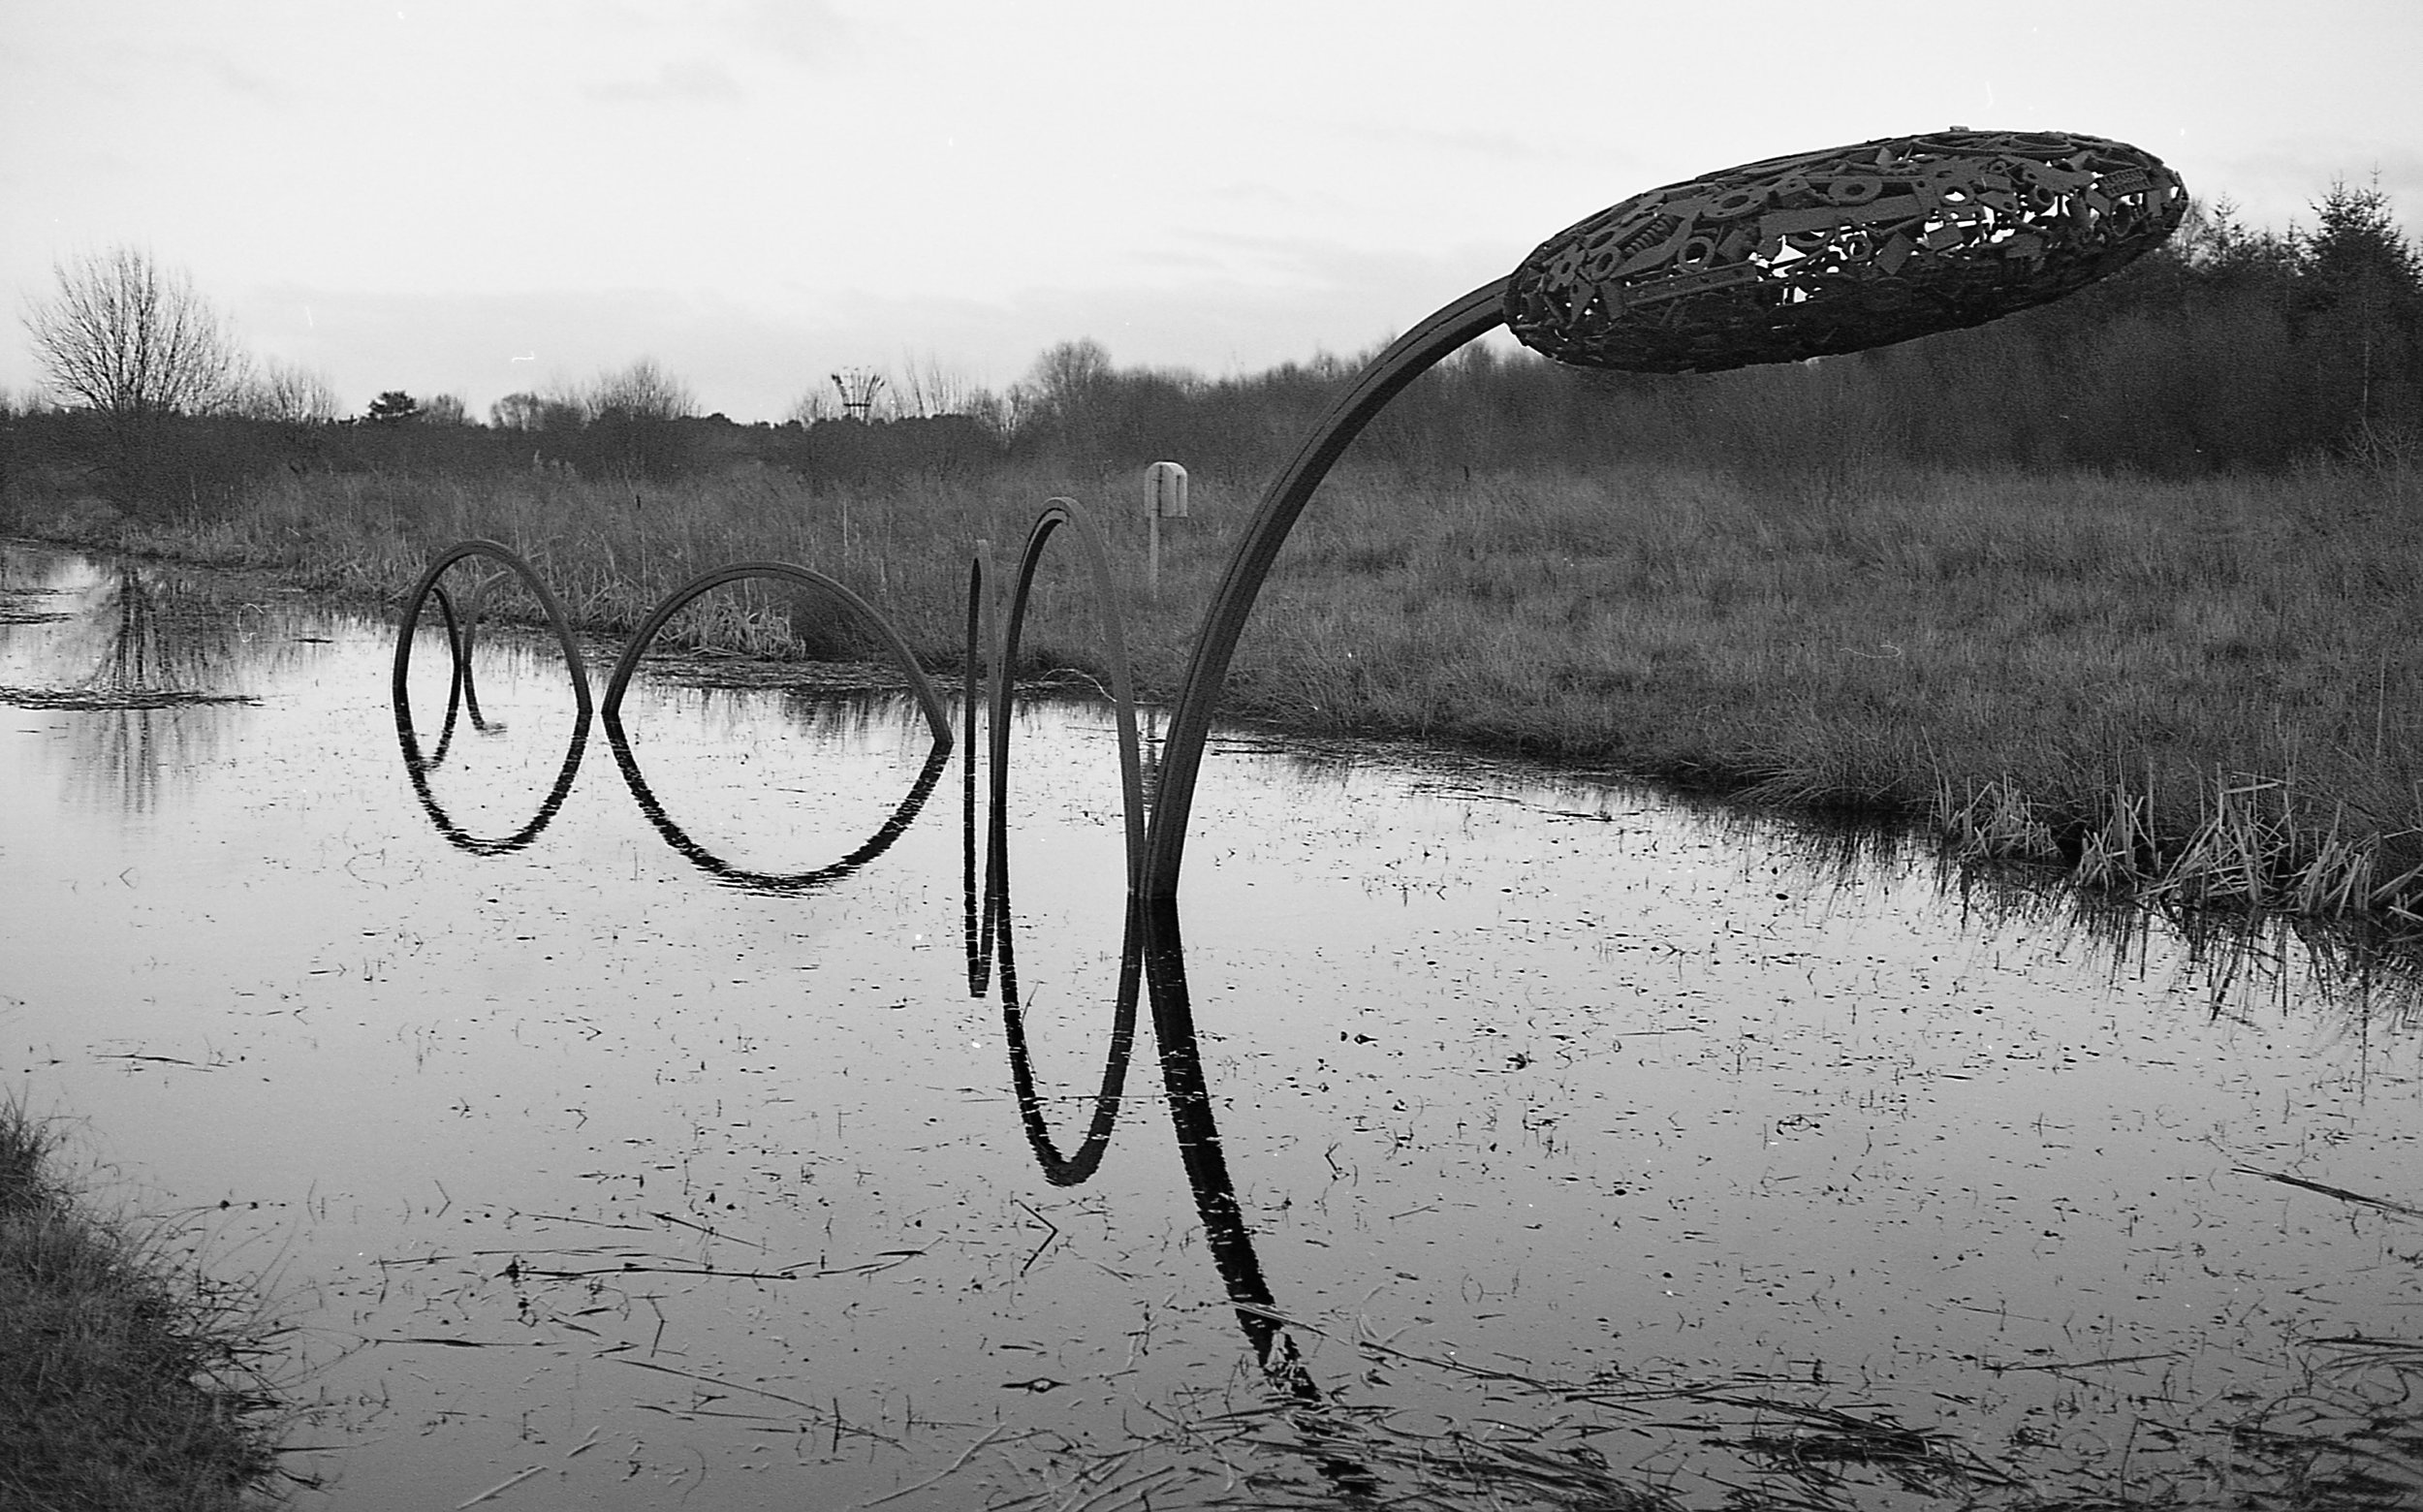
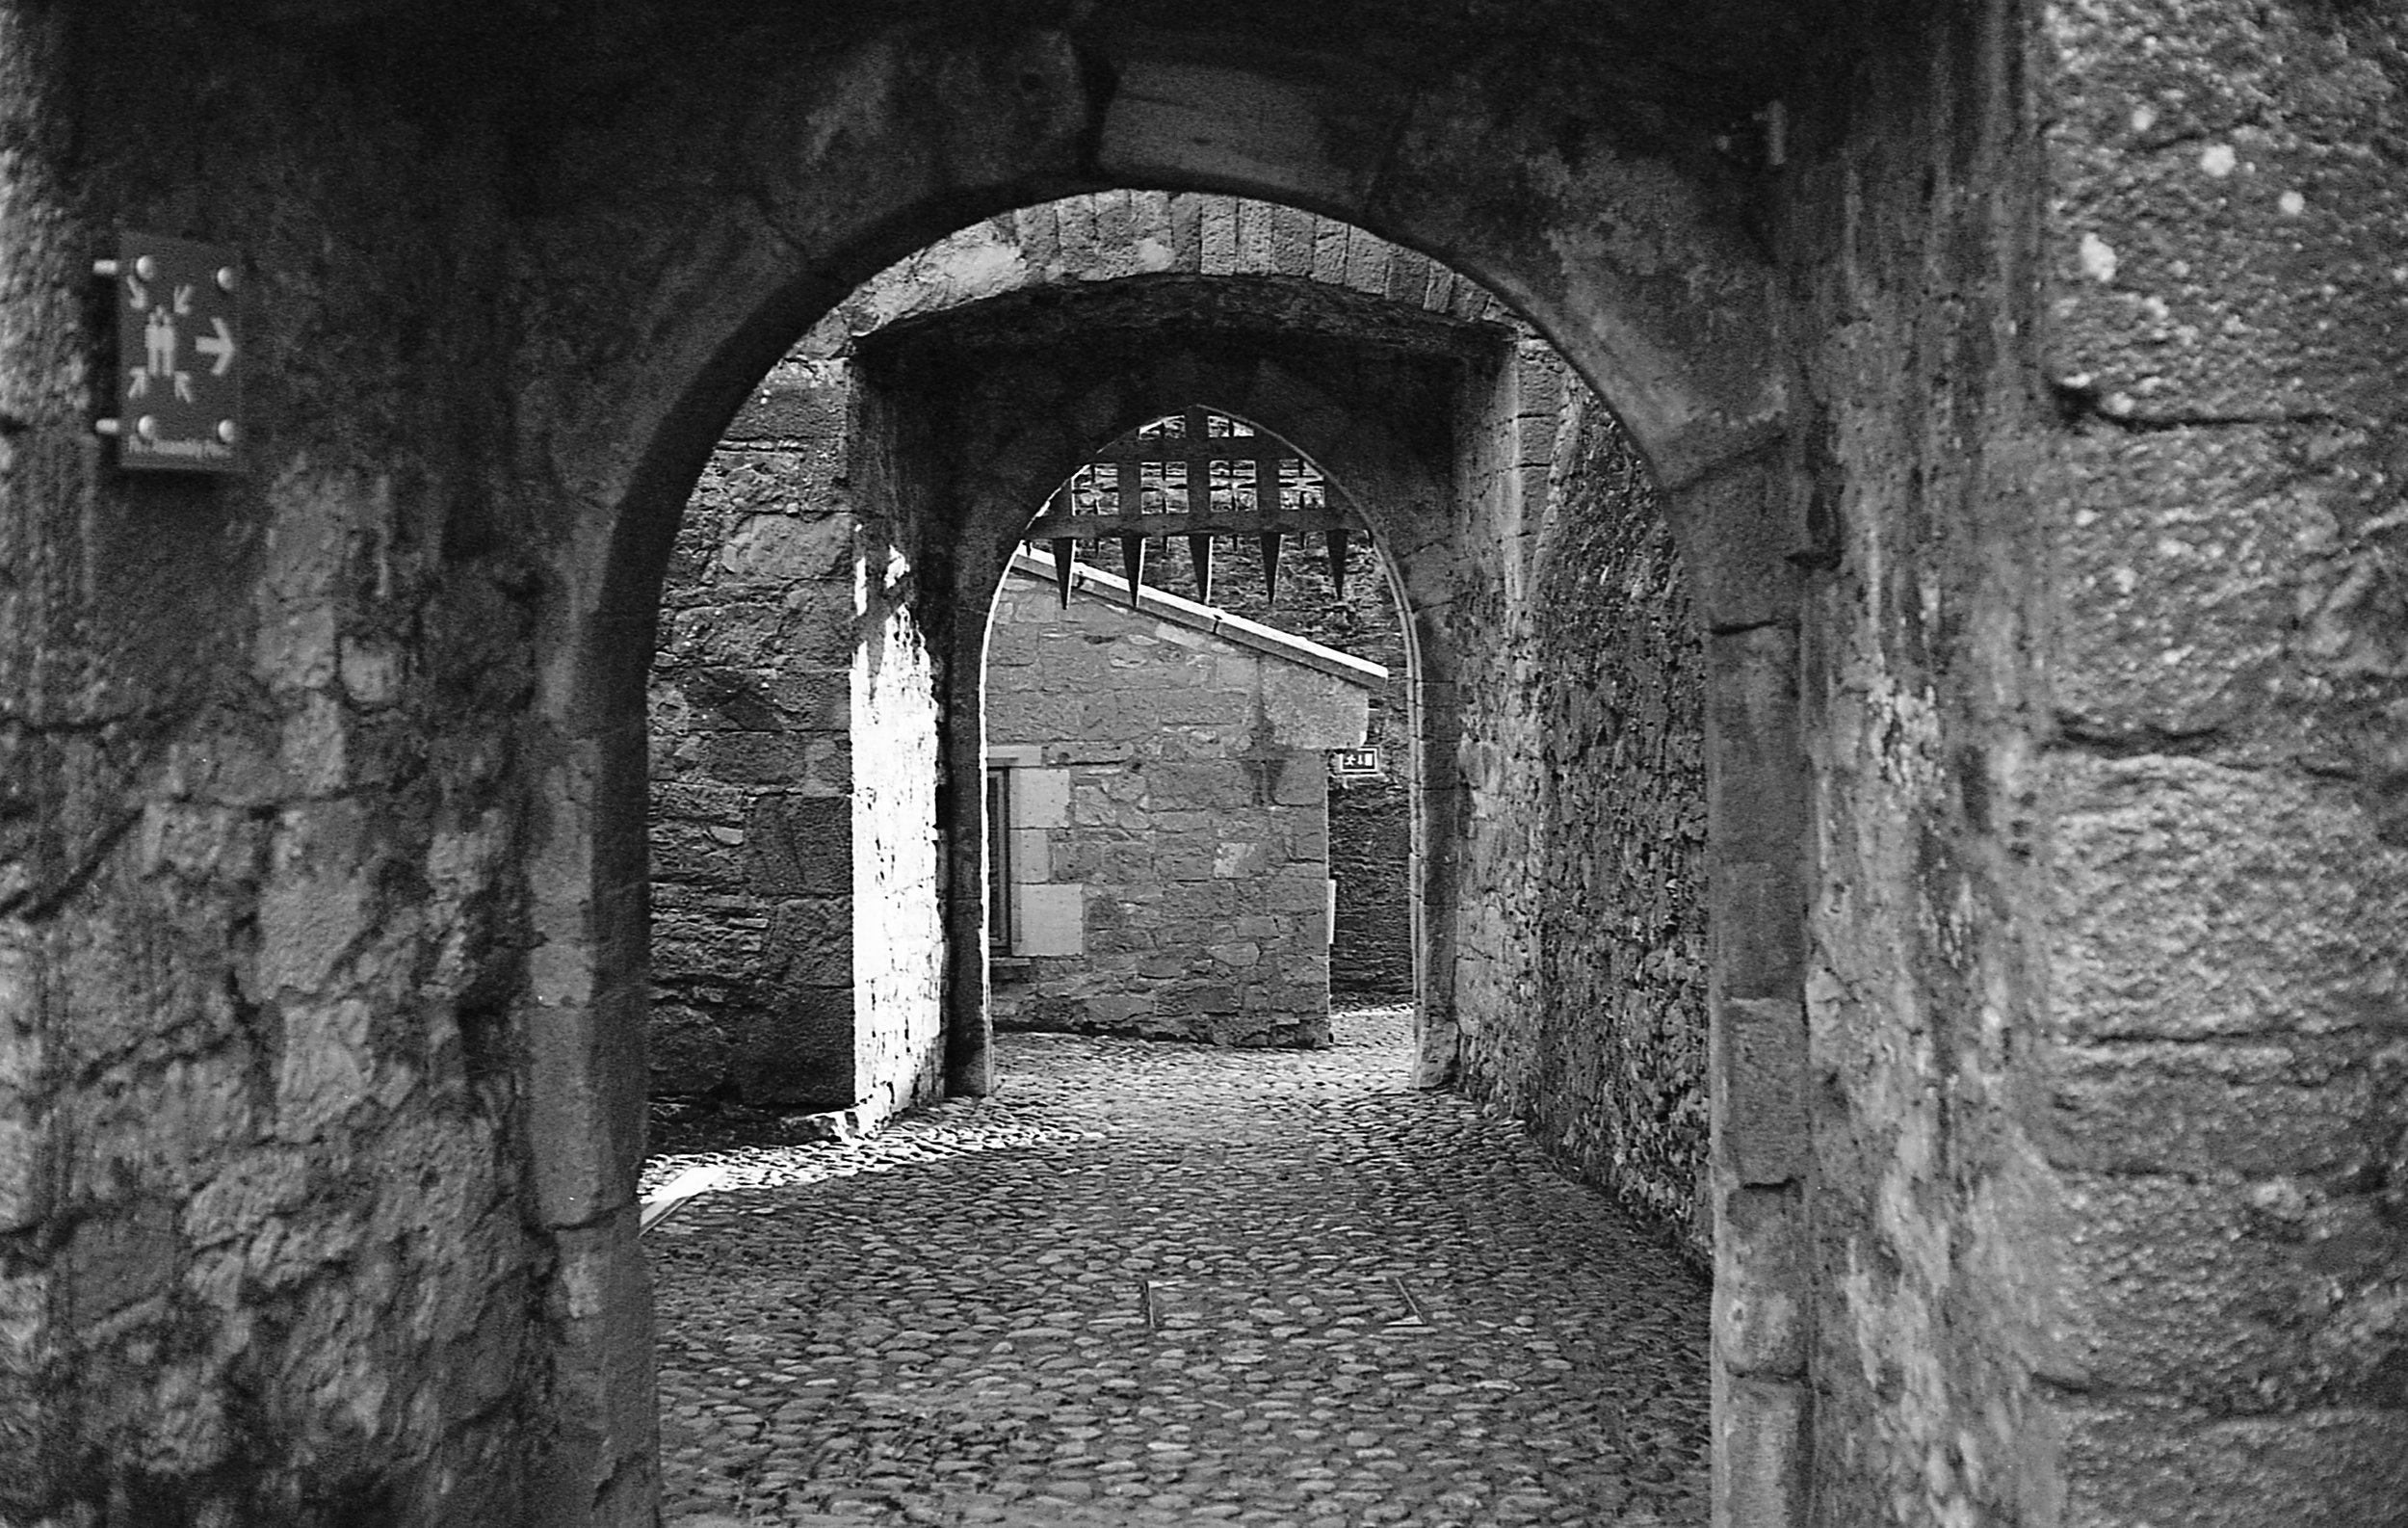
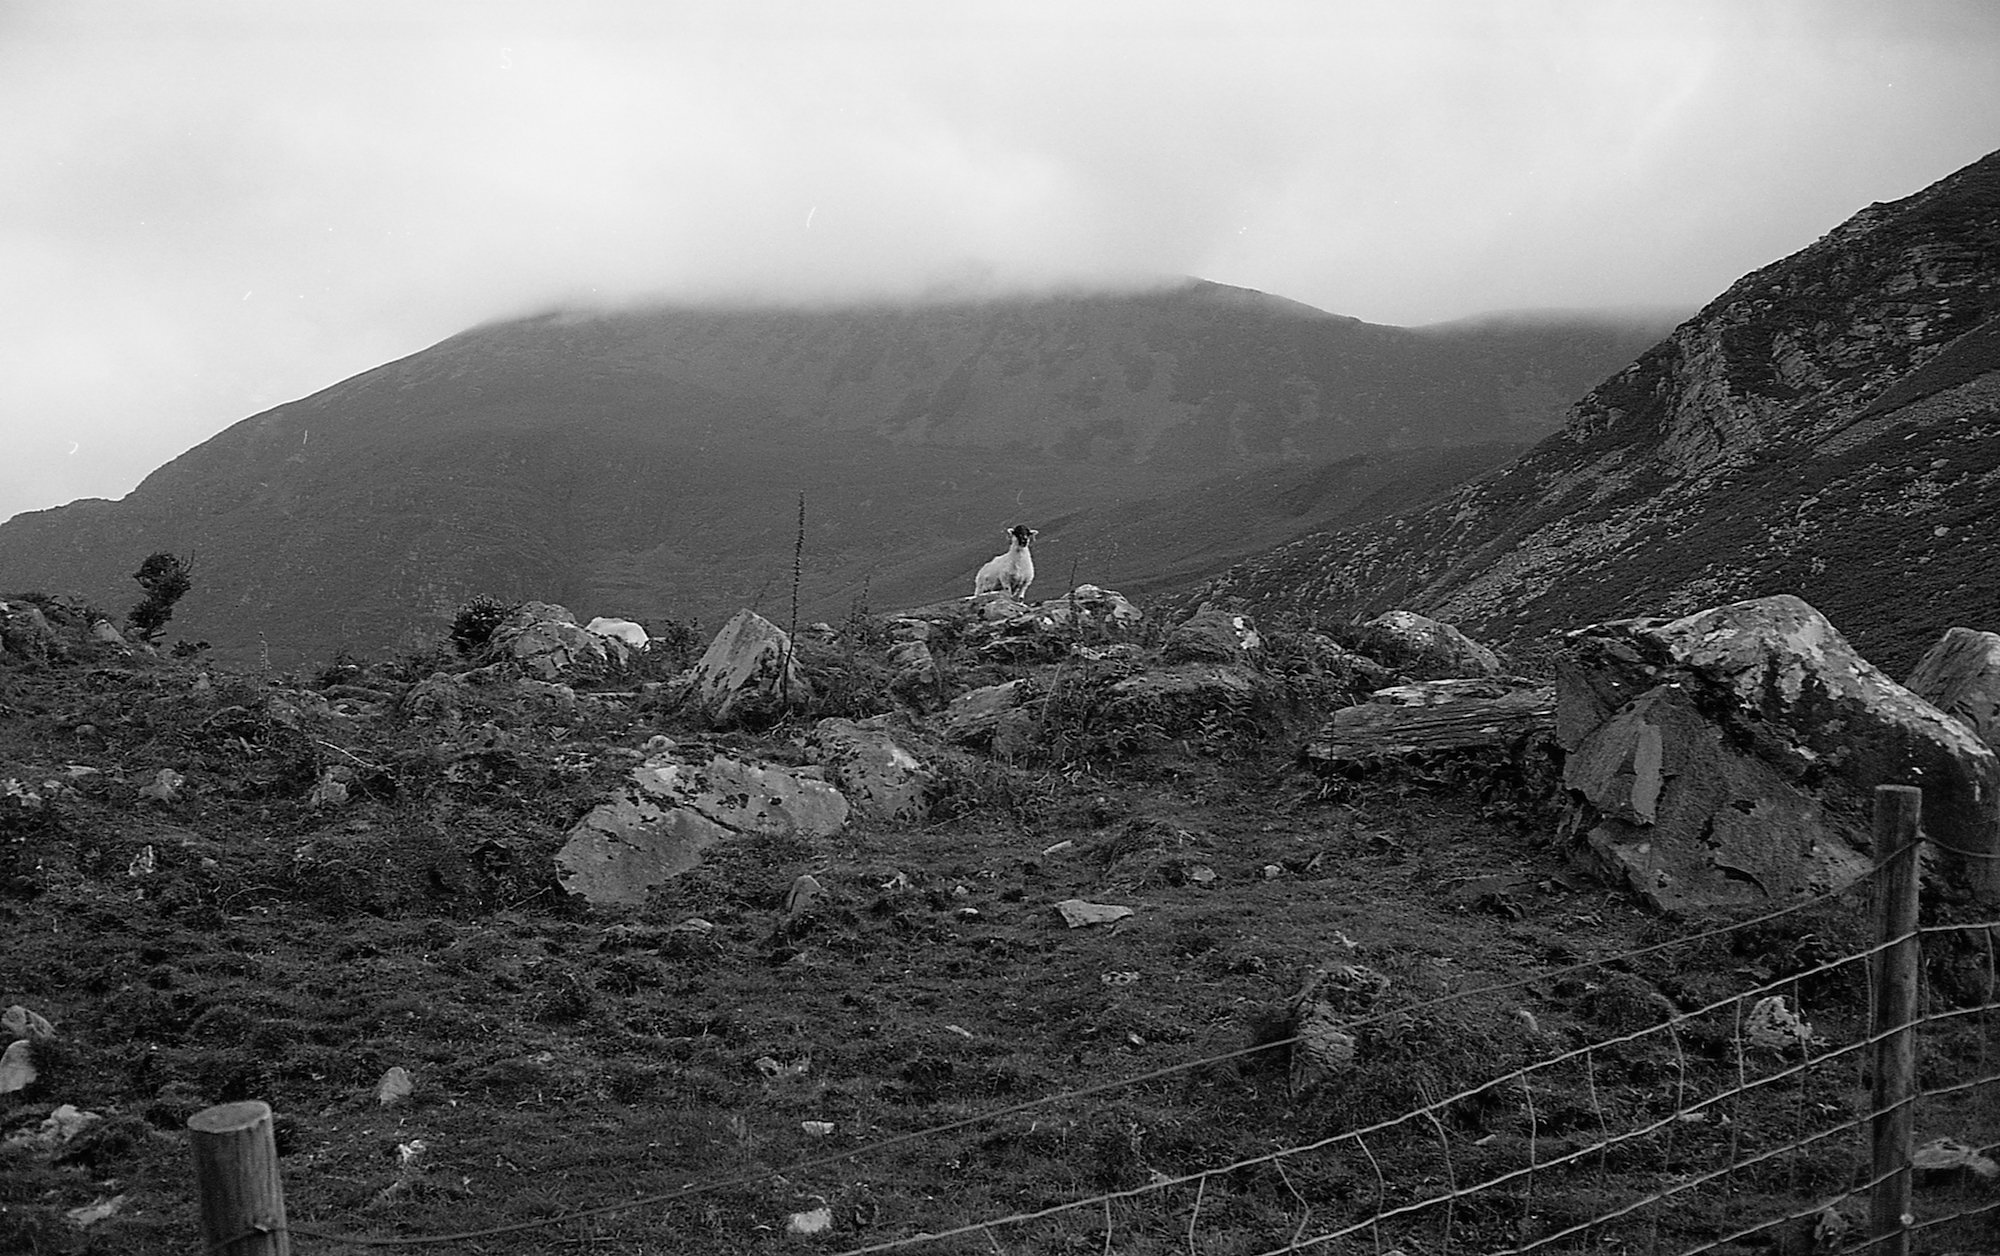
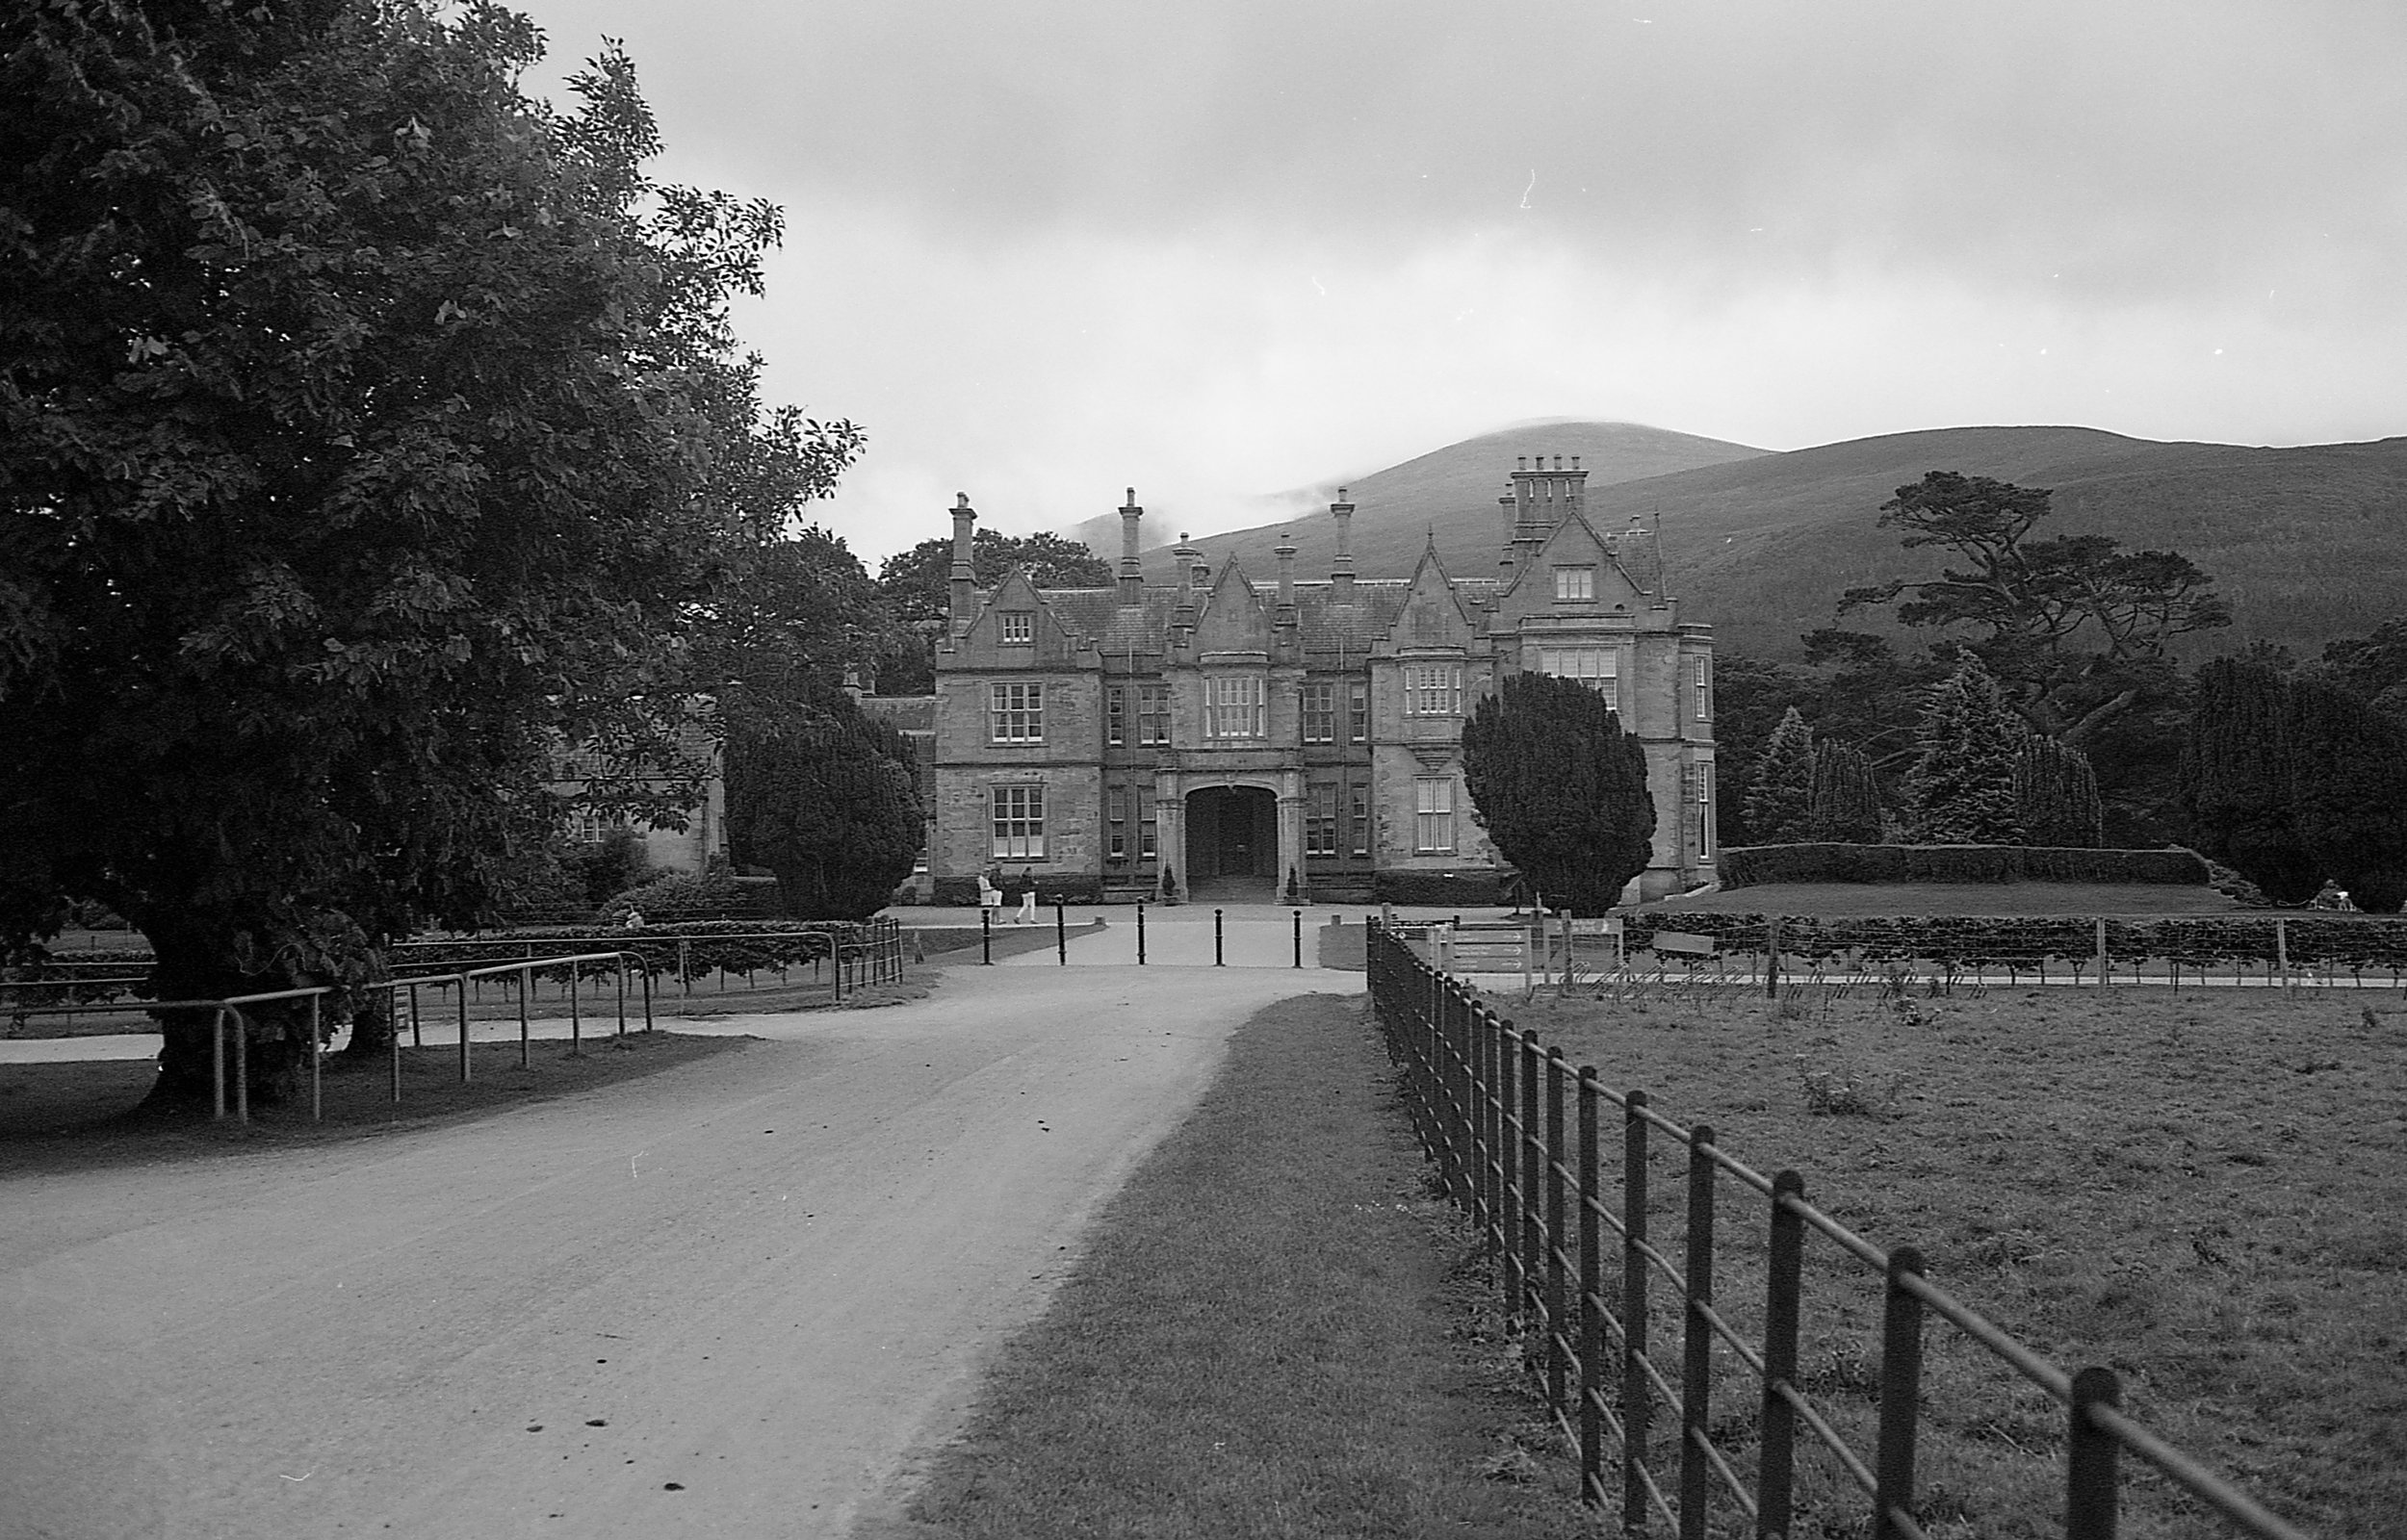
Lough Boora Discover Park, Tullamore, Co. Offaly
Shooting with my Yashica Electro 35GS is an absolute joy due to the large bright viewfinder with its yellow framelines that also offer parallax correction. There is a yellow diamond in the centre of the frame which indicates the rangefinder and makes it easy to line up the dual images in most lighting conditions. One of my favourite features on the camera is the ability to lock the shutter button in place which avoids the possibility of accidentally taking an image when you do not want to. The build of the Yashica Electro 35 GS is solid and despite being slightly larger than my Olympus OM2, it is not overly heavy. It is a comfortable camera to hold and to shoot with and the large viewfinder means that my eyes do not feel strained, which sometimes happens when I use smaller viewfinders. The Yashinon lens produces sharp, clear images and I have yet to be disappointed with the quality of any of the photographs it has produced.


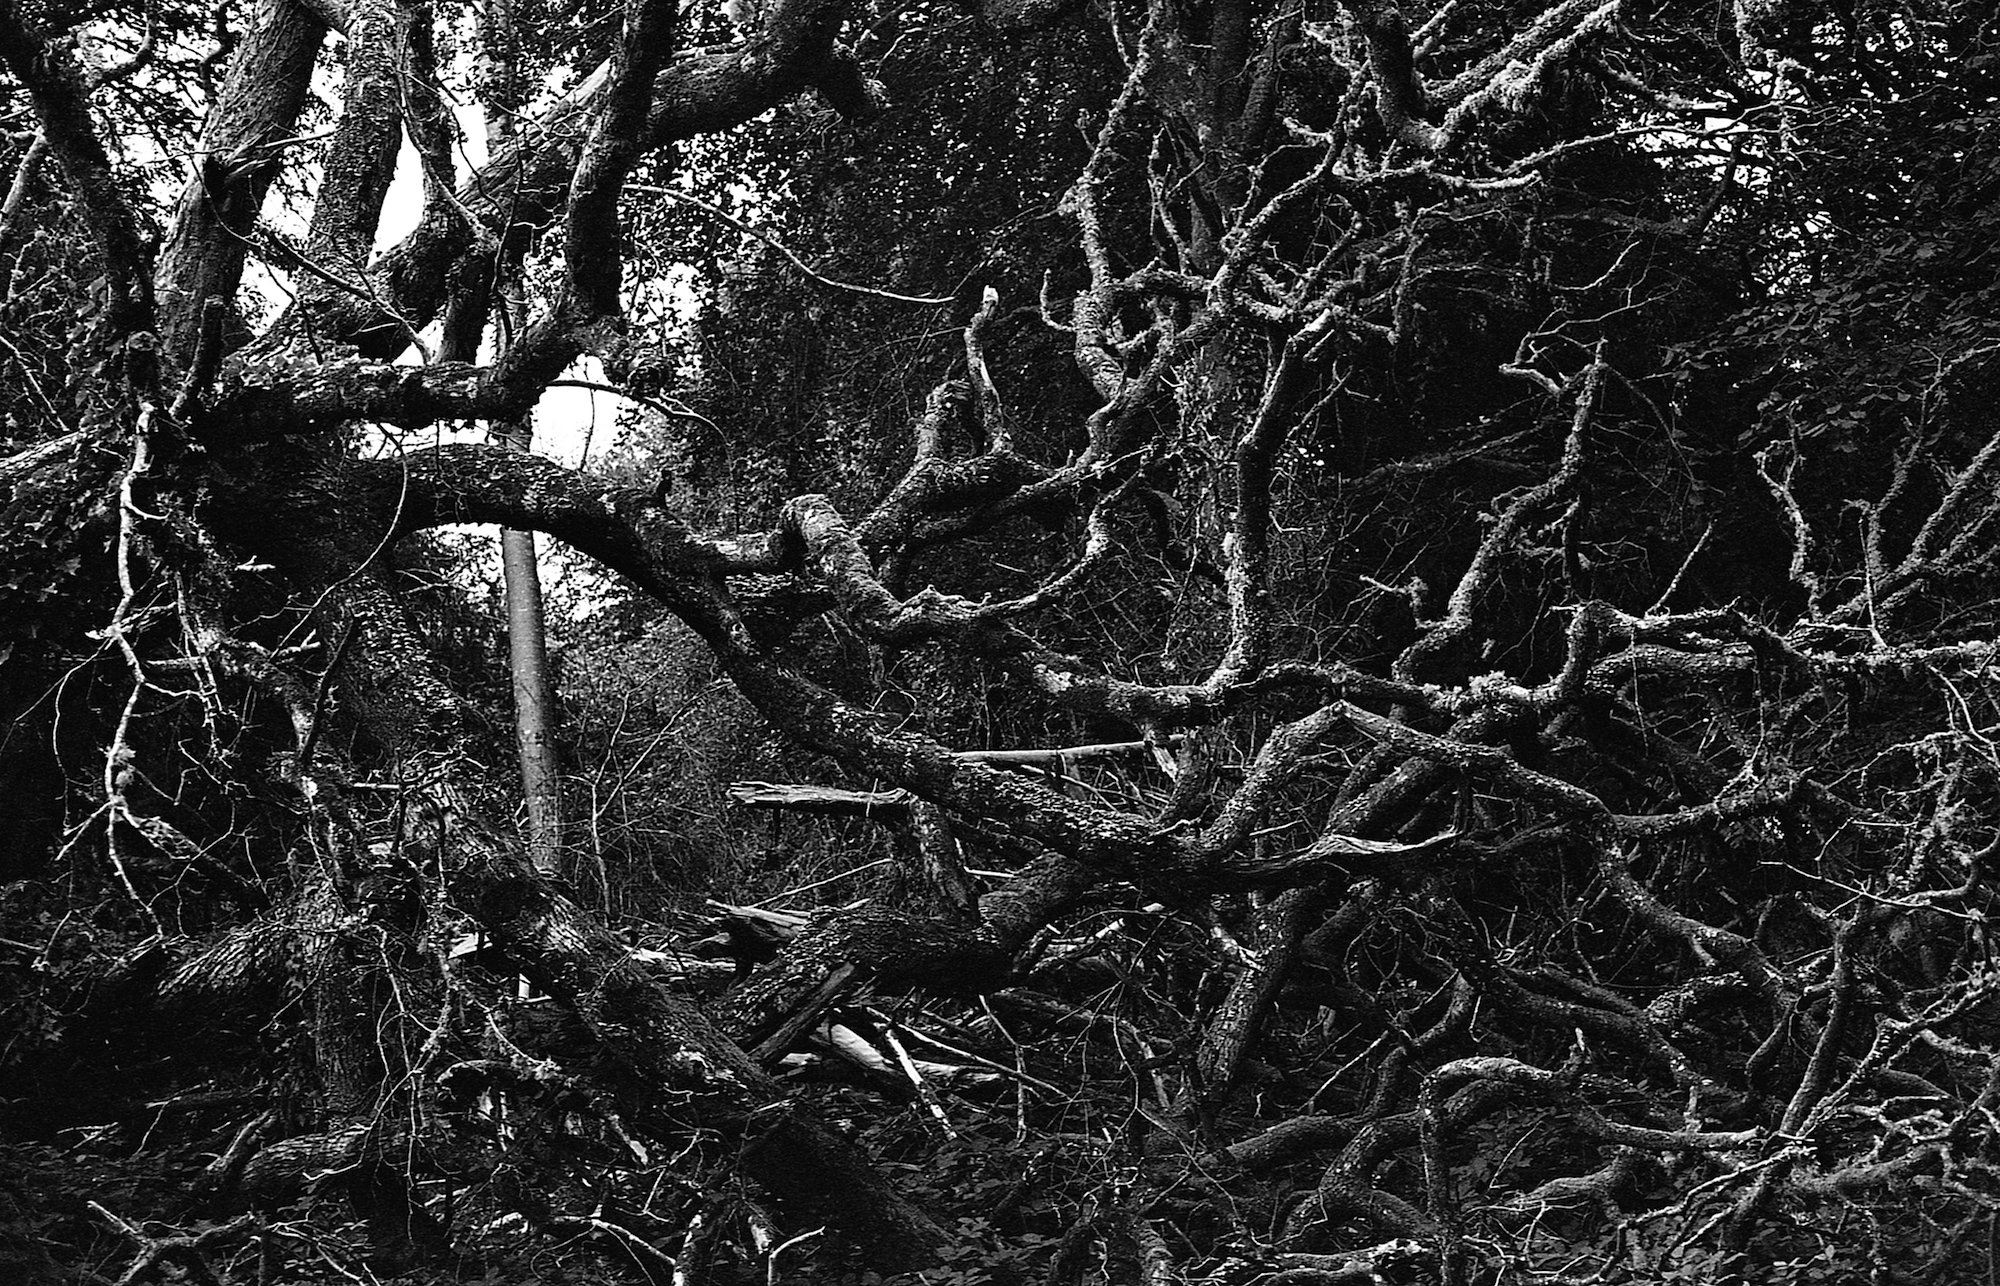
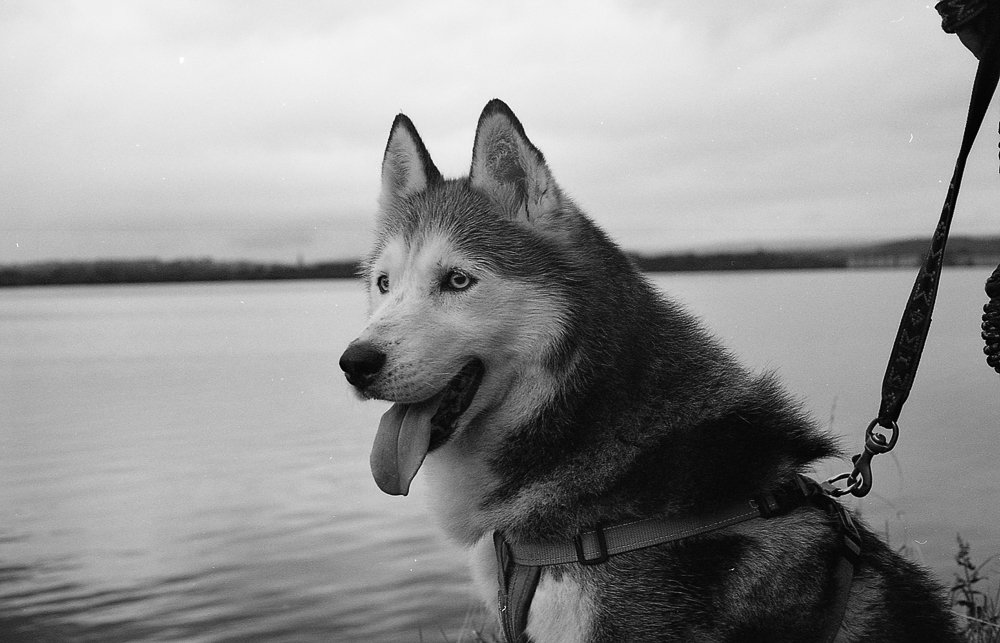
I pick up my Yashica Electro 35 GS far more than any of the SLR’s in my collection due to how simple and enjoyable it is to use and the great results it has produced. It has accompanied me it on numerous vacations as its size and weight make it a good travel camera. Some people may find limitations in only having aperture priority settings, but the lack of manual options is not something that I am concerned with when the Electro 35’s image quality is so good. If you find yourself in the market for a decently priced rangefinder, the Electro 35 series is a great place to start and if it’s good enough for Spiderman, then it’s good enough for me.